 Roof
Job, property and claim details
Record the property, client instruction, inspection date, claim/reference, assessor and report version. Distinguish the client’s account of an event from what you verified.
Free resource · Australian roofing
A practical roof report structure and on-roof checklist for Australian roofers. Requirements vary by client and insurer; adapt the report to your instruction and competence.
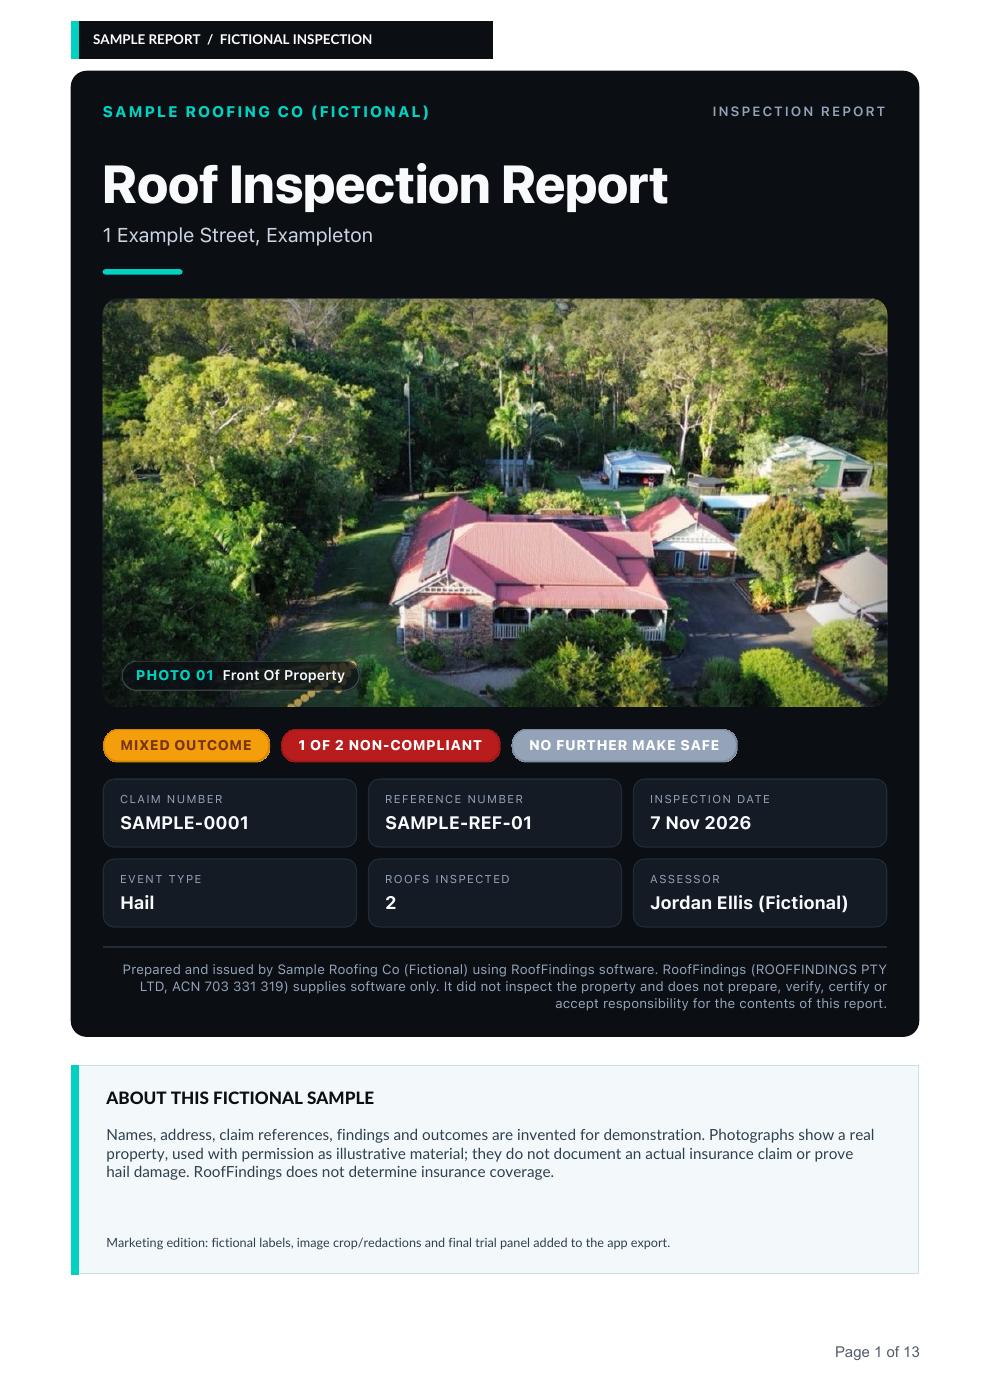
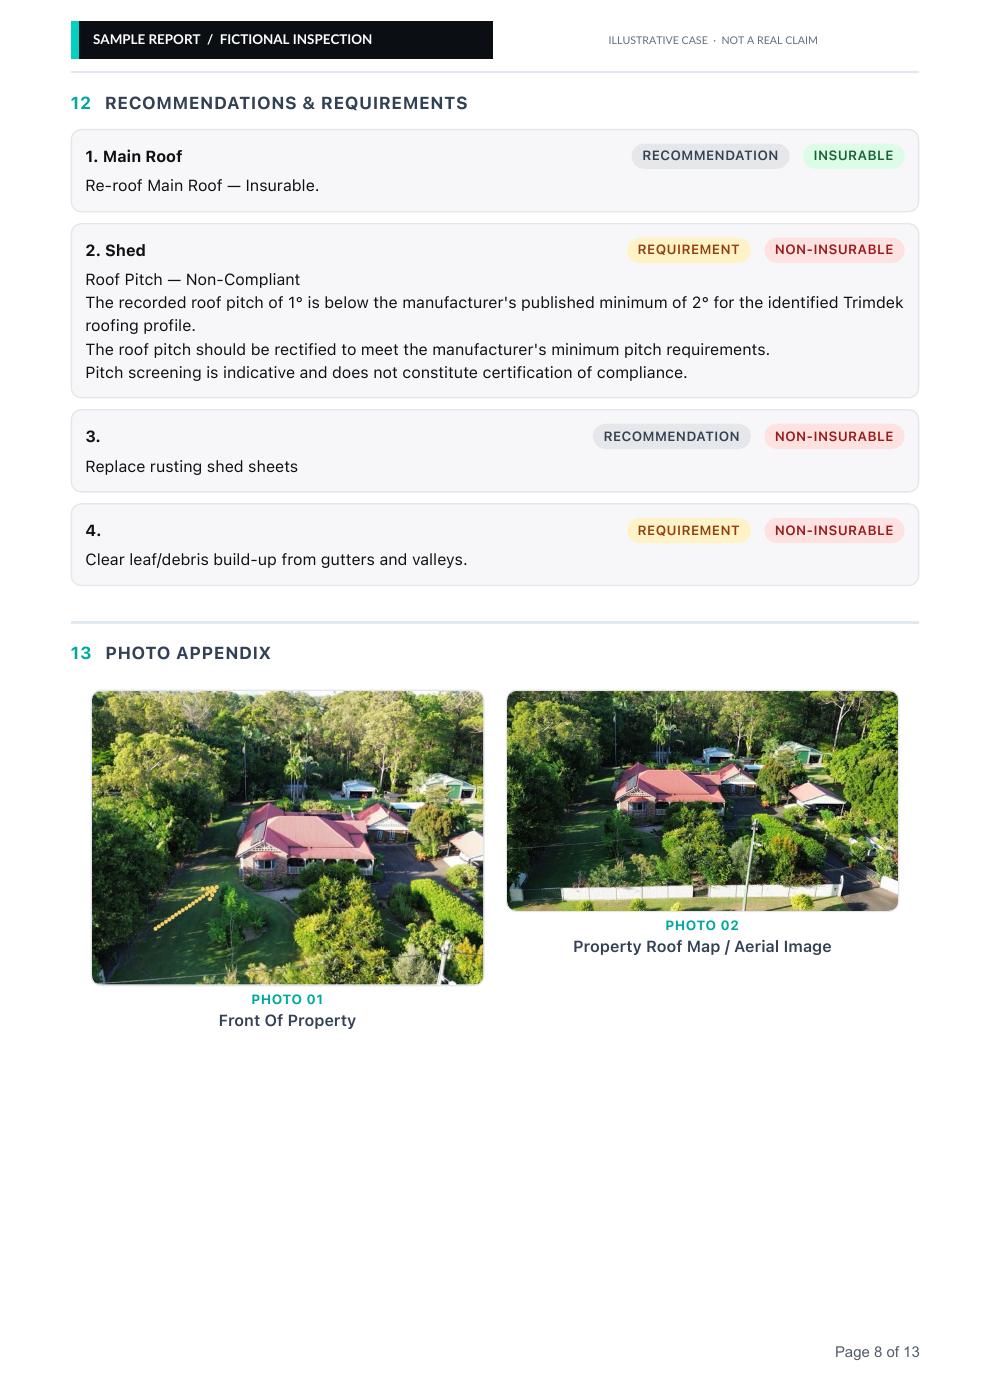
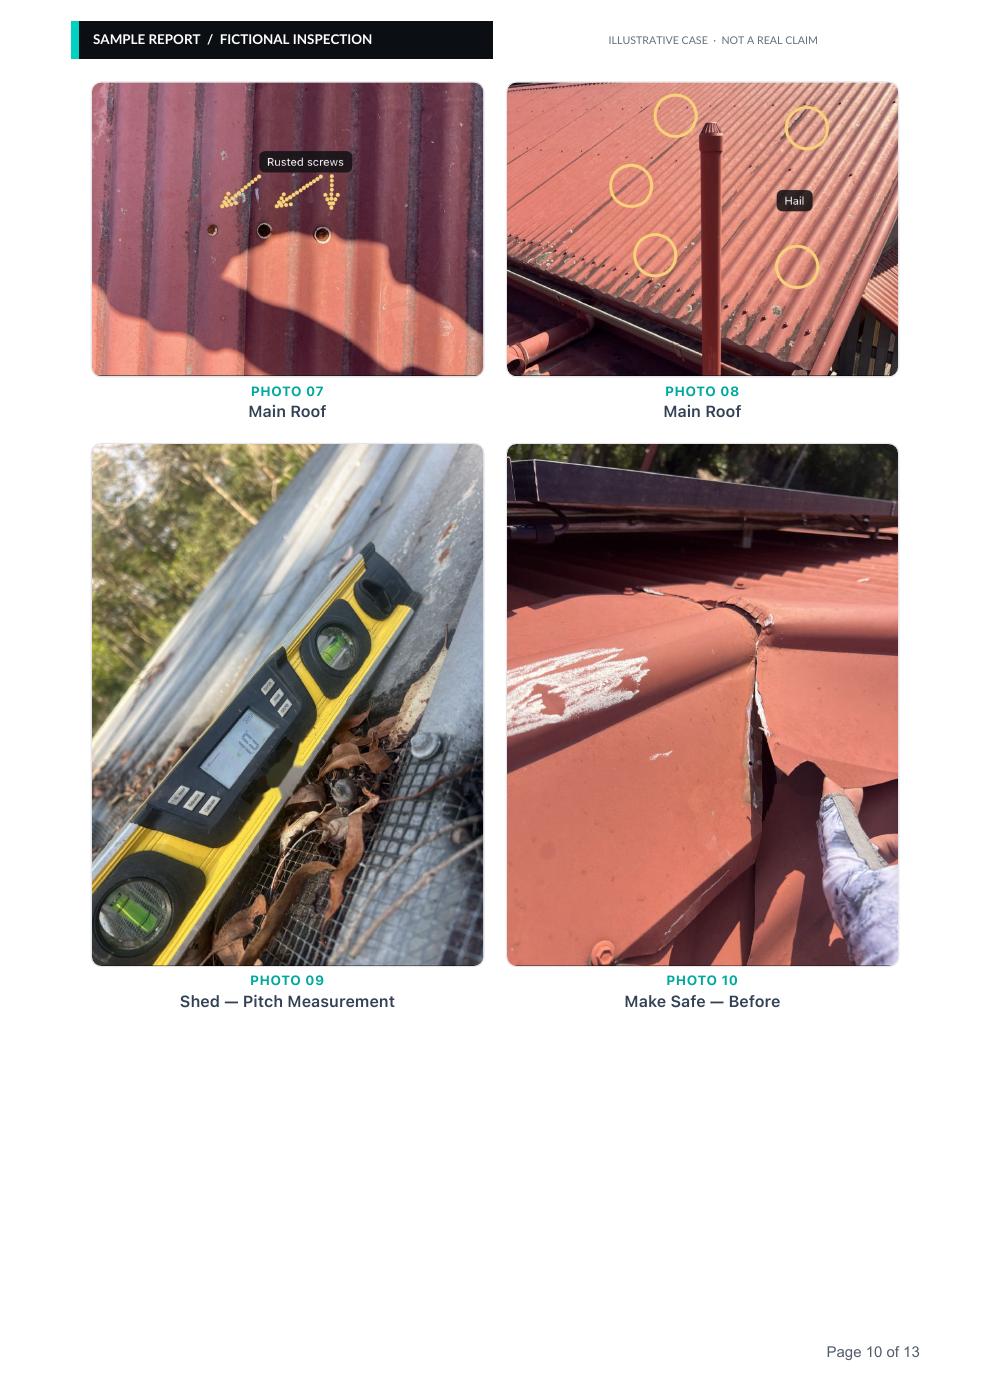
Metal-roof hail damage example showing how inspection evidence, findings and recommendations become a finished report.
Draft guidance: review and adapt before use. Requirements vary by client and insurer. General guidance only, not policy or legal advice.
Using Word or PDF templates already? See how RoofFindings replaces the manual reconstruction step.
Record the property, client instruction, inspection date, claim/reference, assessor and report version. Distinguish the client’s account of an event from what you verified.
Record access, weather, inspection scope, safety arrangements and areas you could not inspect. Do not turn a reporting checklist into permission to access an unsafe roof.
Identify covering, profile where known, approximate age with its basis, roof form, pitch and relevant accessories. Give each roof area a stable name. Check current manufacturer information where a pitch assessment is needed.
Describe what you saw in each roof area, its location and extent. Separate defects, damage, maintenance and workmanship observations. Record uncertainty and any further investigation needed.
Where storm or hail is relevant, record the reported event and evidence, alternative explanations and the basis of your opinion. Distinguish observation from inference; a weather event alone does not establish cause or coverage.
Use an overview, location/context image and detail or scale where appropriate. Label every image, link it to the roof area and finding, and avoid unnecessary personal information.
Describe any authorised make-safe work and remaining risks. Separate proposed actions, necessary prerequisites and maintenance. Explain the basis, scope and limitations; policy decisions remain with authorised parties.
Summarise the significant findings, reasoning, limitations and next actions. Check photo references and client requirements, then record the assessor and issue date. Keep a clear version trail.
This is a reporting aid. Follow your own safety assessment, training, authorisations and site procedures.
Name the roof area and connect the photo to the observation.
Record what supports your opinion and what remains uncertain.
Explain the relationship between evidence, finding and proposed work.
A Word template can suit occasional jobs and a known client format. As volume grows, photos and notes can become a separate reconstruction task. See how RoofFindings organises the same workflow on iPhone.
Requirements vary by client and insurer. This general structure is a starting point, not a universal insurer format or assurance of acceptance.
Include enough context to locate each finding and clear supporting detail. Use scale when useful, label photographs and avoid collecting unrelated personal information.
Explain your opinion only within your competence and instruction. Show the evidence, alternative explanations and uncertainty; keep the coverage decision separate.
Long enough for another person to understand the evidence and reasoning. Repetition and unlabelled photographs do not make a report stronger.
Trial RoofFindings for 14 days or 2 issued reports, whichever comes first. Includes 1 author/assessor seat; no card required. Pro is A$99/month with 20 issued reports and 1 assessor. Your free trial does not automatically become a paid subscription; subscribe only when you choose.